Table of Contents
Introduction
Text blocks are used in foreknown to manage reusable texts for offers, orders and invoices. These texts can be used in the introduction and closing sections as well as in the positions and e-mail bodies and can be provided with placeholders.
The maintenance of the text blocks is accessible for the roles "Account administrator", "Account manager" and "Accountant".
Manage Text Blocks
Search Text Block
If you open the "Text BLocks" dialog, you will see the following:
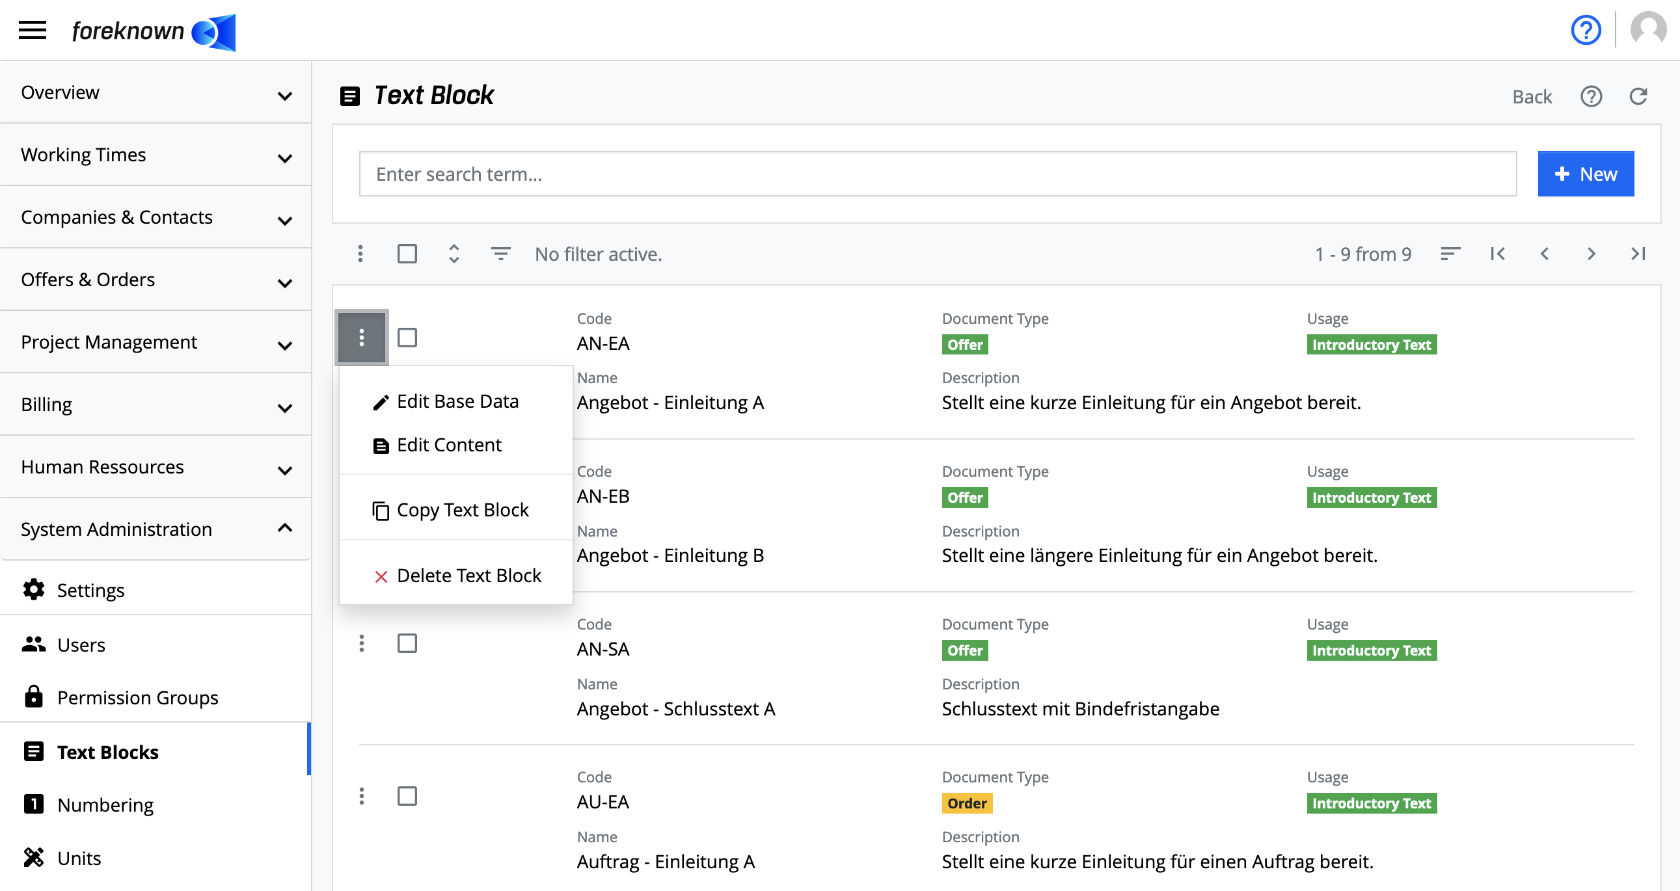
The upper area of the dialog contains the search field and the "+ New" button (see also Create Text Block). Below this area all already created text blocks are displayed in the form of a scrollable, filterable and sortable list.
If you now enter a search term in the input field, the list will only show the text blocks that contain the entered search term in their name. In this way, individual text blocks can be found and edited quickly.
Filter Text Blocks
In addition to the search function, the management of text blocks also offers a filter dialog. A filter dialog is always located in foreknown as a fold-out dialog on the right side. The filter dialog can be expanded and collapsed by clicking on the button with the three dashes above the list on the left.
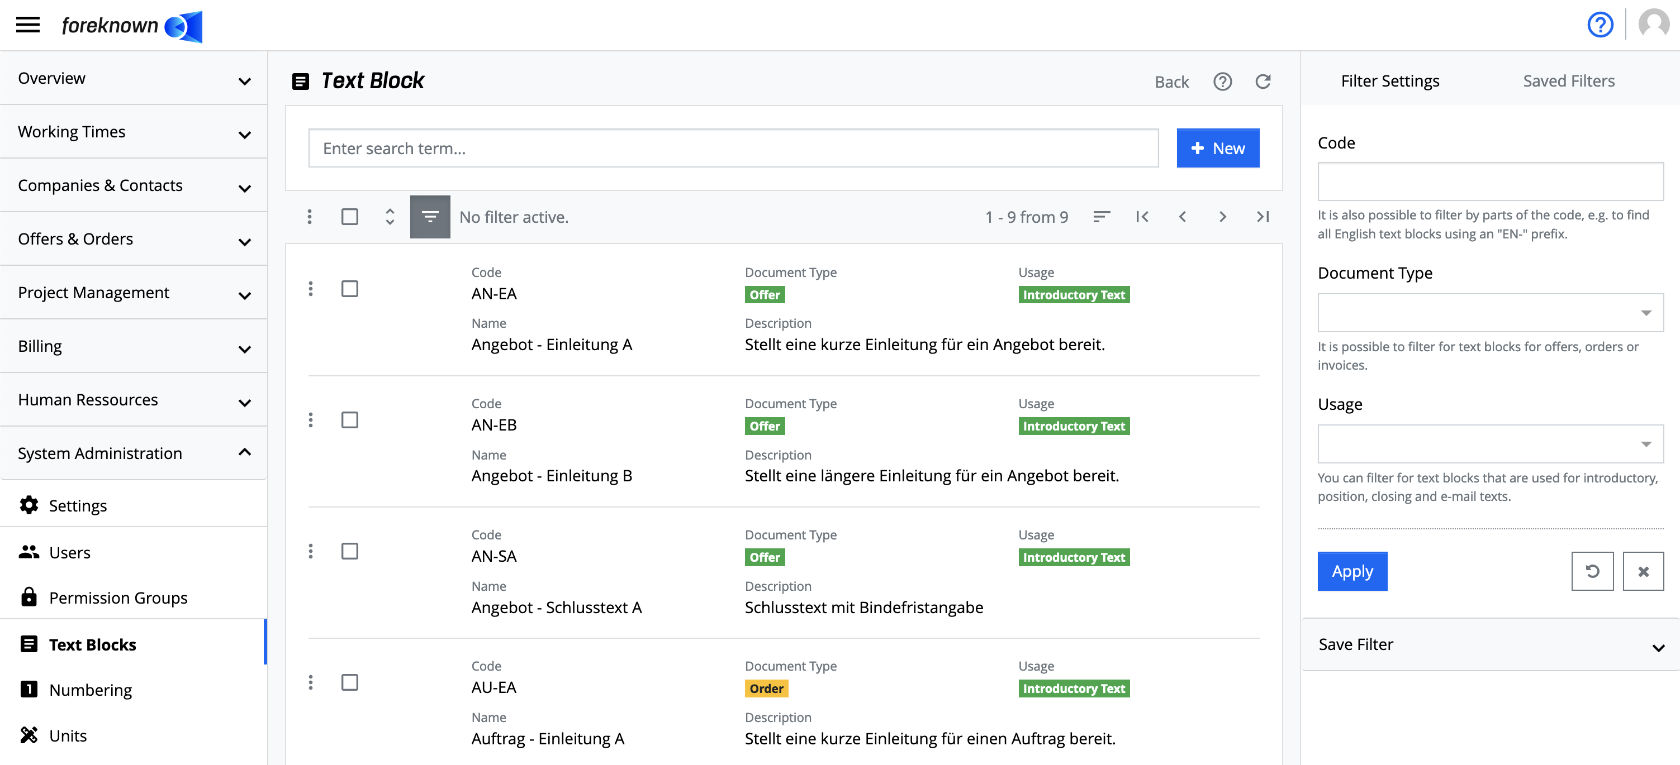
The following filter options are offered for text blocks:
- Included in Code: A component of the abbreviation of a text block can be entered in an input field.
Example: Text blocks are stored in two languages. The Code is prefixed with "DE-" or "EN-" to indicate the language. This filter can thus be used to filter all text blocks with the corresponding prefix.
- Document Type: The document type for which the text block can be used can be selected from a drop-down list. The document types "Offer", "Order" or "Invoice" are offered.
- Usage: The usage for which the text block can be used can be selected from a drop-down list. Usages "Intro Text", "Closing Text", "Position Text", and "E-Mail Text" are offered.
The action "Apply" displays all text blocks in the list that match the filter criteria. The action "x" removes all filter settings, and the list shows all text blocks again. The "Reset" action (symbol: arrow in circle) discards all changes that you may have made to a saved filter.
Documentation note: For general information about the filter options see also in chapter Basics: Filters.
Show Text Blocks Details
To display more details about the individual text blocks in the list view, click on the icon with the two arrows.

The content of the text block is then also displayed in the list view. Clicking the button again hides the details again.
Create Text Block
To create a new text block, click on the "+ New" button located at the top right of the search field. This button opens the "Create Text Block" popup dialog.
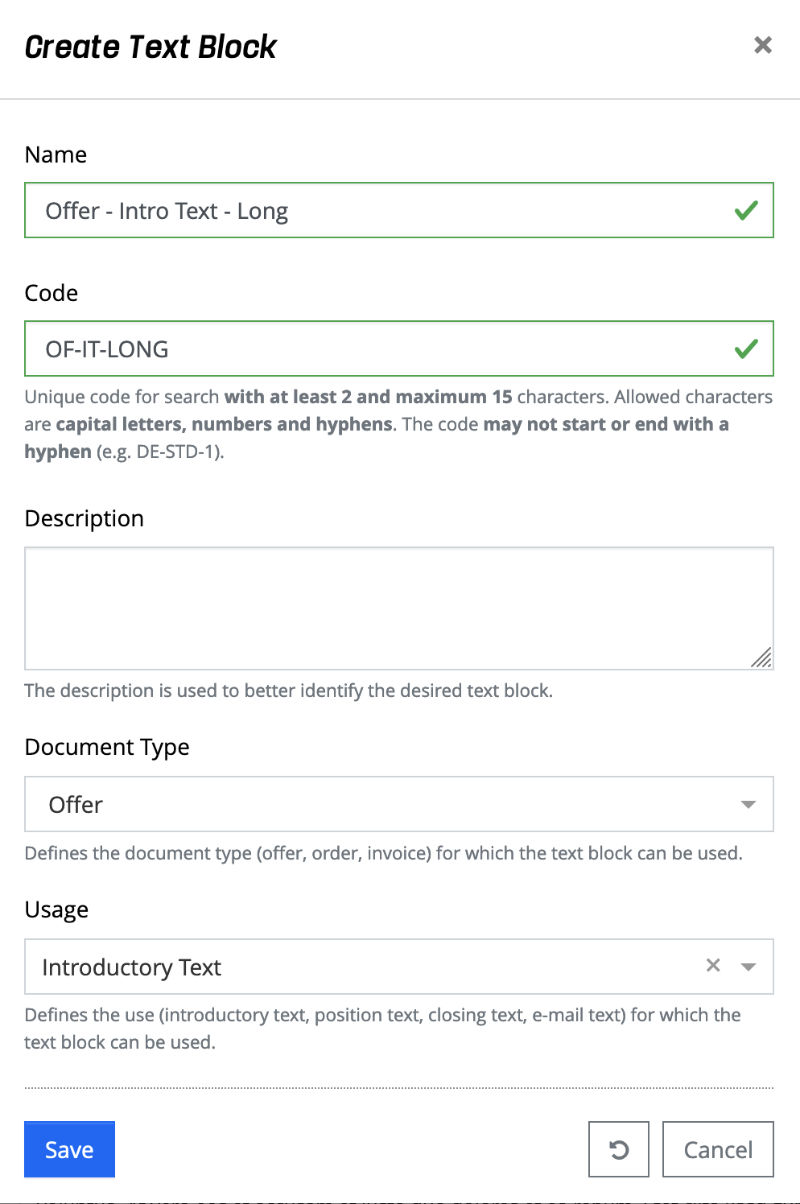
The following properties must/could be specified for a new text block:
- Name: Name of the text block.
- Code: Unique code used for the search with a minimum of 2 and a maximum of 15 characters. Allowed characters are capital letters, numbers and hyphens. It must start with a letter and must not end with a hyphen. e.g. DE-STD-1
- Description: A description text can be stored to explain the use of the text block.
- Document type: One of the following document types can be selected from a drop-down list:
- Offer: Text blocks with this usage will only be suggested for offers.
- Order: Text blocks with this usage are only suggested for orders.
- Invoice: Text blocks with this usage will only be suggested for invoices.
- Usage: One of the following usages can be selected from a drop-down selection list:
- Introductory Text: Text blocks with this usage are suggested as introductory texts for offers, orders and invoices.
- Position Text: Text blocks with this usage are suggested as position texts for offers, orders and invoices.
- Closing Text: Text blocks with this usage are suggested as closing texts for offers, orders and invoices.
- Email Text: Text blocks with this usage are suggested for offers, orders and invoices in standard settings and in the invoicing profiles for sending documents by e-mail.
The content of a text block is also displayed via the detail view.
The "Save" action creates a new text block. The "Reset" and "Cancel" actions discard the entries, and in the case of the "Cancel" action, the dialog is closed.
Action Menu
Via the action menu, which is opened via the three dots at the beginning of each line, the actions described below can be executed.
Edit Master Data
The properties of a text block can be edited via a popup dialog. This is opened via the action menu with the action "Edit Master Data". See also the description of the Create Text Block dialog.
Edit Content / Placeholders
To define the content of a text block, the action "Edit Content" can be selected via the action menu.
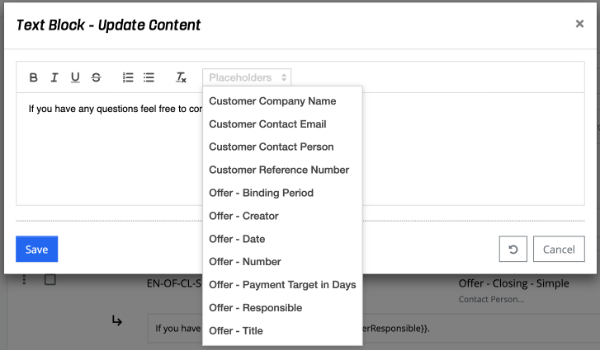
All document types have a common set of placeholders:
Common customer-related Placeholders
- customerCompanyName: Customer - Company Name
- customerContactPerson: Customer - Contact Person
- customerContactPersonEmail: Customer - E-Mail Address
- customerContactSalutation: Customer - Salutation
- customerContactSalutationWithName: Customer - Salutation with Name
- customerReferenceNumber: Customer - Reference Number
Common document-related Placeholders
- title: Title
- number: Number
- date: Date
- creator: Creator
- responsible: Responsible Person
- paymentPeriodDays: Payment Period in Days
Depending on the document type, there are different placeholders:
Special Placeholders for Offers
- bindingPeriod: Offer - Binding Period
Special Placeholders for Orders
- relatedOfferNumber: Order - Related Offer Number
- relatedOfferTitle: Order - Related Offer Title
- relatedOfferDate: Order - Related Offer Date
Special Placeholders for Invoices
- servicePeriodStartDate: Invoice - Service Period - Start Date
- servicePeriodEndDate: Invoice - Service Period - End Date
- servicePeriodMonth: Invoice - Service Period - Month
- servicePeriodYear: Invoice - Service Period - Year
Copy Text Block
A text block can be copied via the action menu with the action "Copy text block". The Create Text Block dialog will then open, in which the data of the selected text block will be copied.
NOTE: Please note that the code must be adjusted so that it is unique.
Delete Text Block
A text block can be deleted via the action menu with the action "Delete Text Block". A pop-up dialog opens, which must be confirmed with "Delete".
Edit Text Block
Clicking on a text block in the list opens the corresponding detailed view.
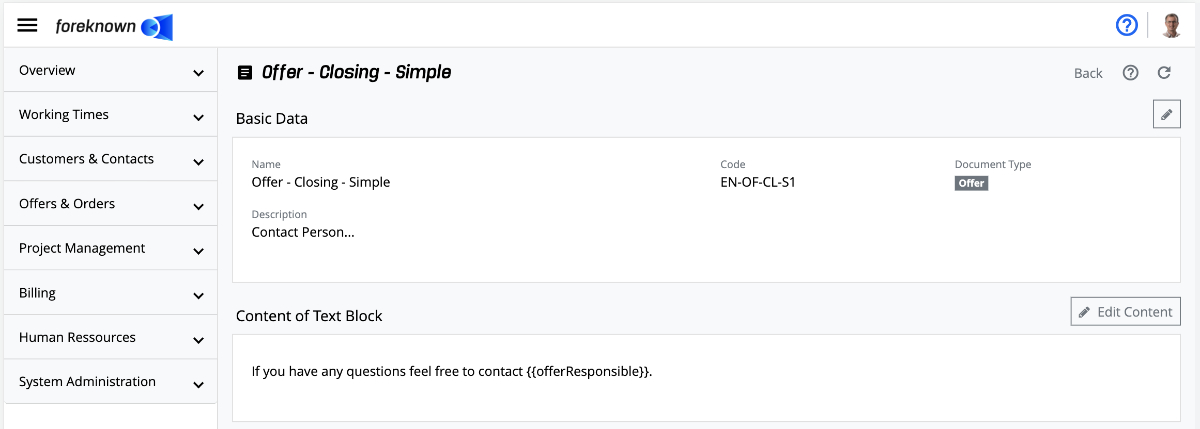
Here the master data is displayed in the upper half and the content of the text block in the lower half. These can be edited as described below.
Detailed View - Edit Master Data
The master data of a text block can be edited in the detail view by clicking on the pencil icon in the upper right corner. This opens a popup dialog with all properties of the selected text block.
See also Edit Master Data
Detailed View - Edit Content
To define or update the content of a text block from the detail view, click on the "Edit Content" button which allows to edit the content of the selected text block in an editor of the "Update Content" dialog.
See also Edit Content / Placeholder