Table of Contents
Introduction
Labels are used in foreknown to label specific objects such as customers, contacts, working time bookings, notes. Labels can be assigned individually when creating or editing the above-mentioned objects and can also be created when synchronizing tasks and working time bookings from external systems.
Labels always have a type and can optionally be provided with a prefix, which divides a label into certain classes, e.g. project, milestone. Labels are used as filter criteria for searches or for evaluations.
The "Manage Labels" dialog can be accessed via the "System Administration / Labels" menu item by users who have the "Account Administrator" role.
Search Label
If you open the "Manage Labels" dialog, you will see the following:
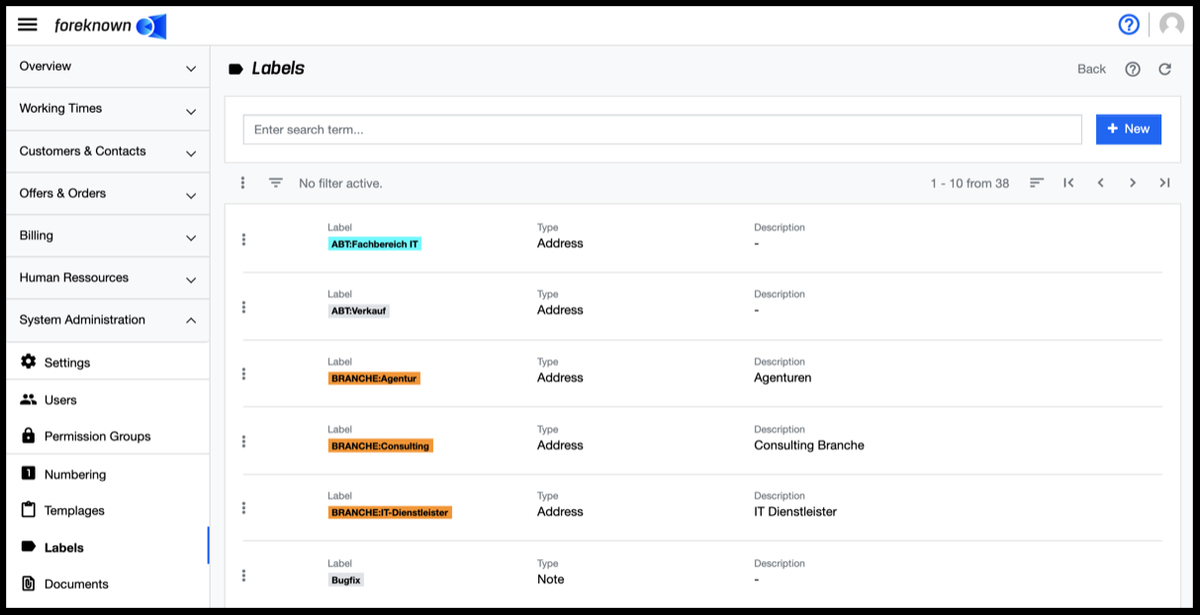
The upper area of the dialog contains the search field and the "+ New" button (see also Create Label). Below this area, all labels that have already been created are displayed in the form of a scrollable list.
If you now enter a search term into the input field, the list will only show the labels that contain the entered search term in their name. In this way, individual labels can be found and edited quickly.
Filter Labels
In addition to the search function, the label management also offers a filter dialog. A filter dialog is in foreknown always located as a fold-out dialog on the right side. The filter dialog can be expanded and collapsed by clicking on the button with the three dashes above the list on the left.
The following filter options are offered for labels:
- Type: From a drop-down list, a type can be selected from the values "Notes", "Addresses", "Skills", "Time Tracking" and "Tasks".
The "Apply" action will display all labels in the list that match the filter criteria. The "x" action removes all filter settings and the list shows all labels again. The "Reset" action (symbol: arrow in circle) discards all changes that may have been made to a saved filter.
Documentation Note: For general information on the filter options, see also the chapter Basics: Filters.
Create Label
To create a new label, click on the "+ New" button located at the top right of the search box. This button opens the popup dialog "Create Label".
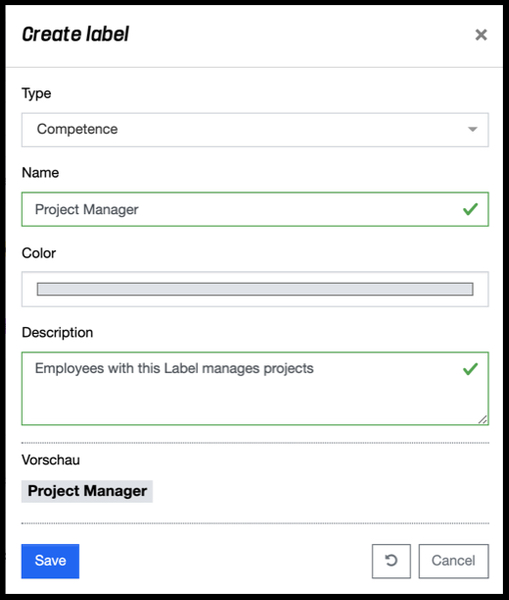
The following properties must be specified for a new label:
- Type: One of the following types can be selected from a drop-down selection list:
- Note: Labels with this type are used for labeling notes.
- Address: Labels with this type are used for labeling customers and contacts.
- Competence: Labels with this type are used for labeling employees to assign skills.
- Working time recording: Labels with this type are used for marking working time bookings in order to be able to make assignments to e.g. projects, milestones.
- Tasks: Labels with this type are used for classification of tasks.
- Name: Name of the label
- Color: Each label can have its own color, so that the labels can be distinguished more easily.
- Description: A description text can be stored to explain the use of the label.
A preview shows the appearance of the label.
With the action "Save" a new label is created. With the action "Reset" and "Cancel" the entries are discarded and in case of the action "Cancel" the dialog is closed.
Edit Label
The properties of a label can be edited via a popup dialog. This is opened either by clicking on the desired entry in the list or via the action menu with the action "Edit label".
The "Update label" dialog opens, through which all properties of a label can be changed. See also the description of the Create Label dialog.
Via the action menu a label can be removed with the action "Delete label". A confirmation dialog opens, which must be confirmed with the action "Delete".